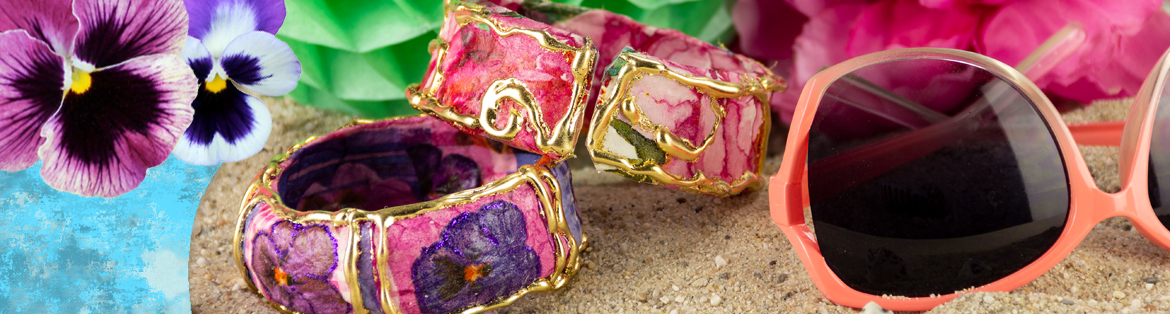
DIY Bracelets
25-04-2019
Elly
25468
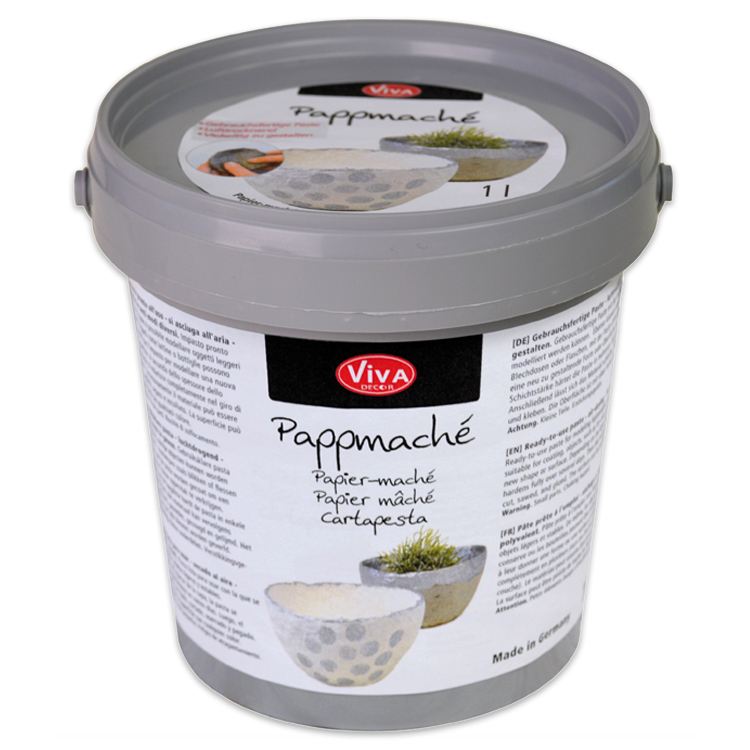
Of Paper Mache Paste
from Viva Decor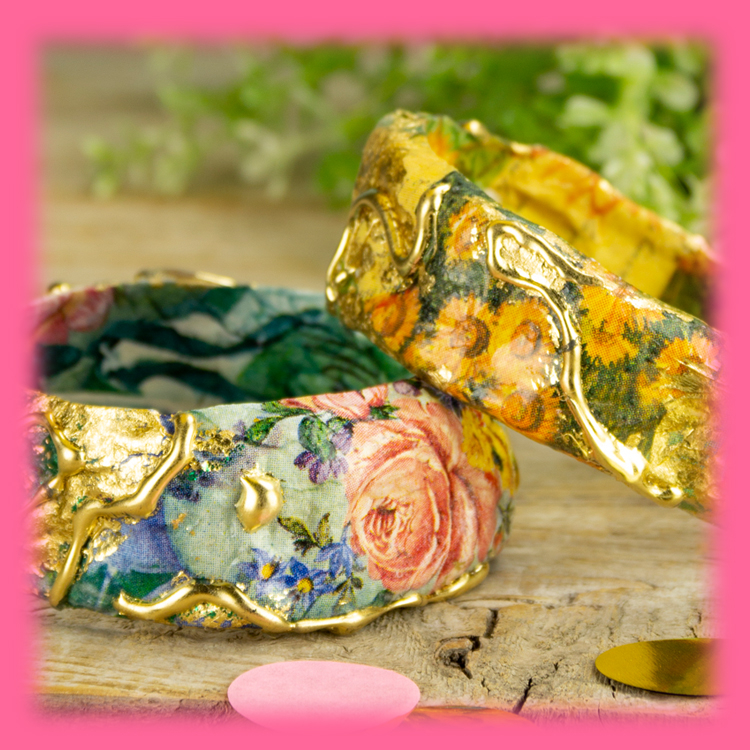
How to?
Take some paper mache and press with your hands into an oblong object, such as the length of the bracelet. With your palette knife smooth the surface. Cut long strips along the ruler.Make nice straight ends and slice with your palette knife under the strips to release it from the surface.
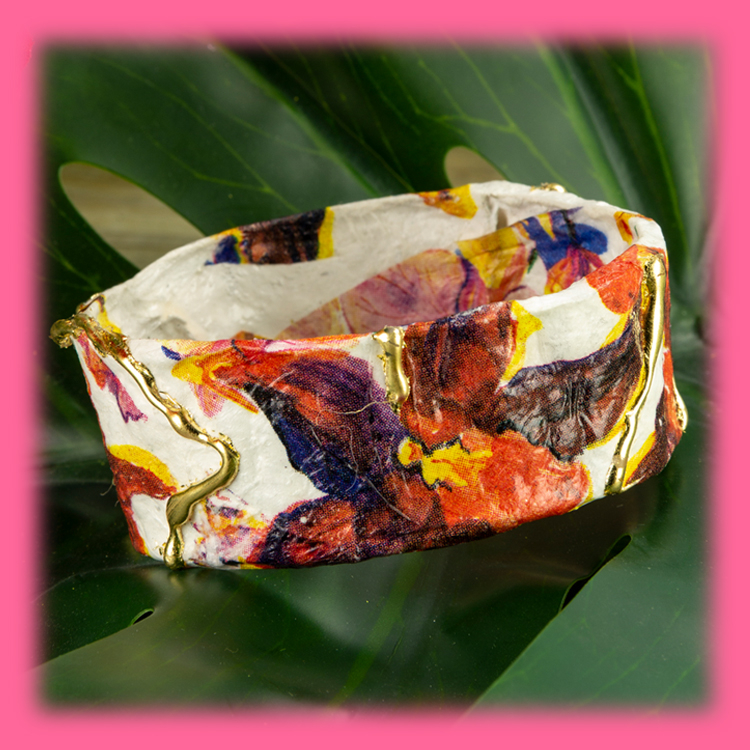
Place the strip around the plastic cup. Use the top for a small bracelet and the bottom for a larger bracelet. Place the ends over each other, cut of the excess paper mache and press firmly to attach the ends.
Let dry for a few days and carefully remove the bracelet from the plastic cup. Sometimes the inside is still wet and needs to dry a bit longer.
Paint the bracelet white. Let dry and glue on your napkin. Let dry again and decorate the bracelet with a glue gun. Make strips, slings or little dots. When the glue is dry you can apply the gold leaf. Rub well and remove the excess gold leaf with a brush. If desired, varnish your bracelet. If it’s difficult to wear your bracelet, cut it to create an opening, but by doing this the bracelet will be less sturdy.
info@evelinesdesign.com
+31(0)38 3756780
Copyright 2024, Evelines Design

